Step 3: Edit and Deploy
After naming your App, a new browser tab opens displaying Operaide Studio — the browser-based IDE for building and configuring Operaide Apps.
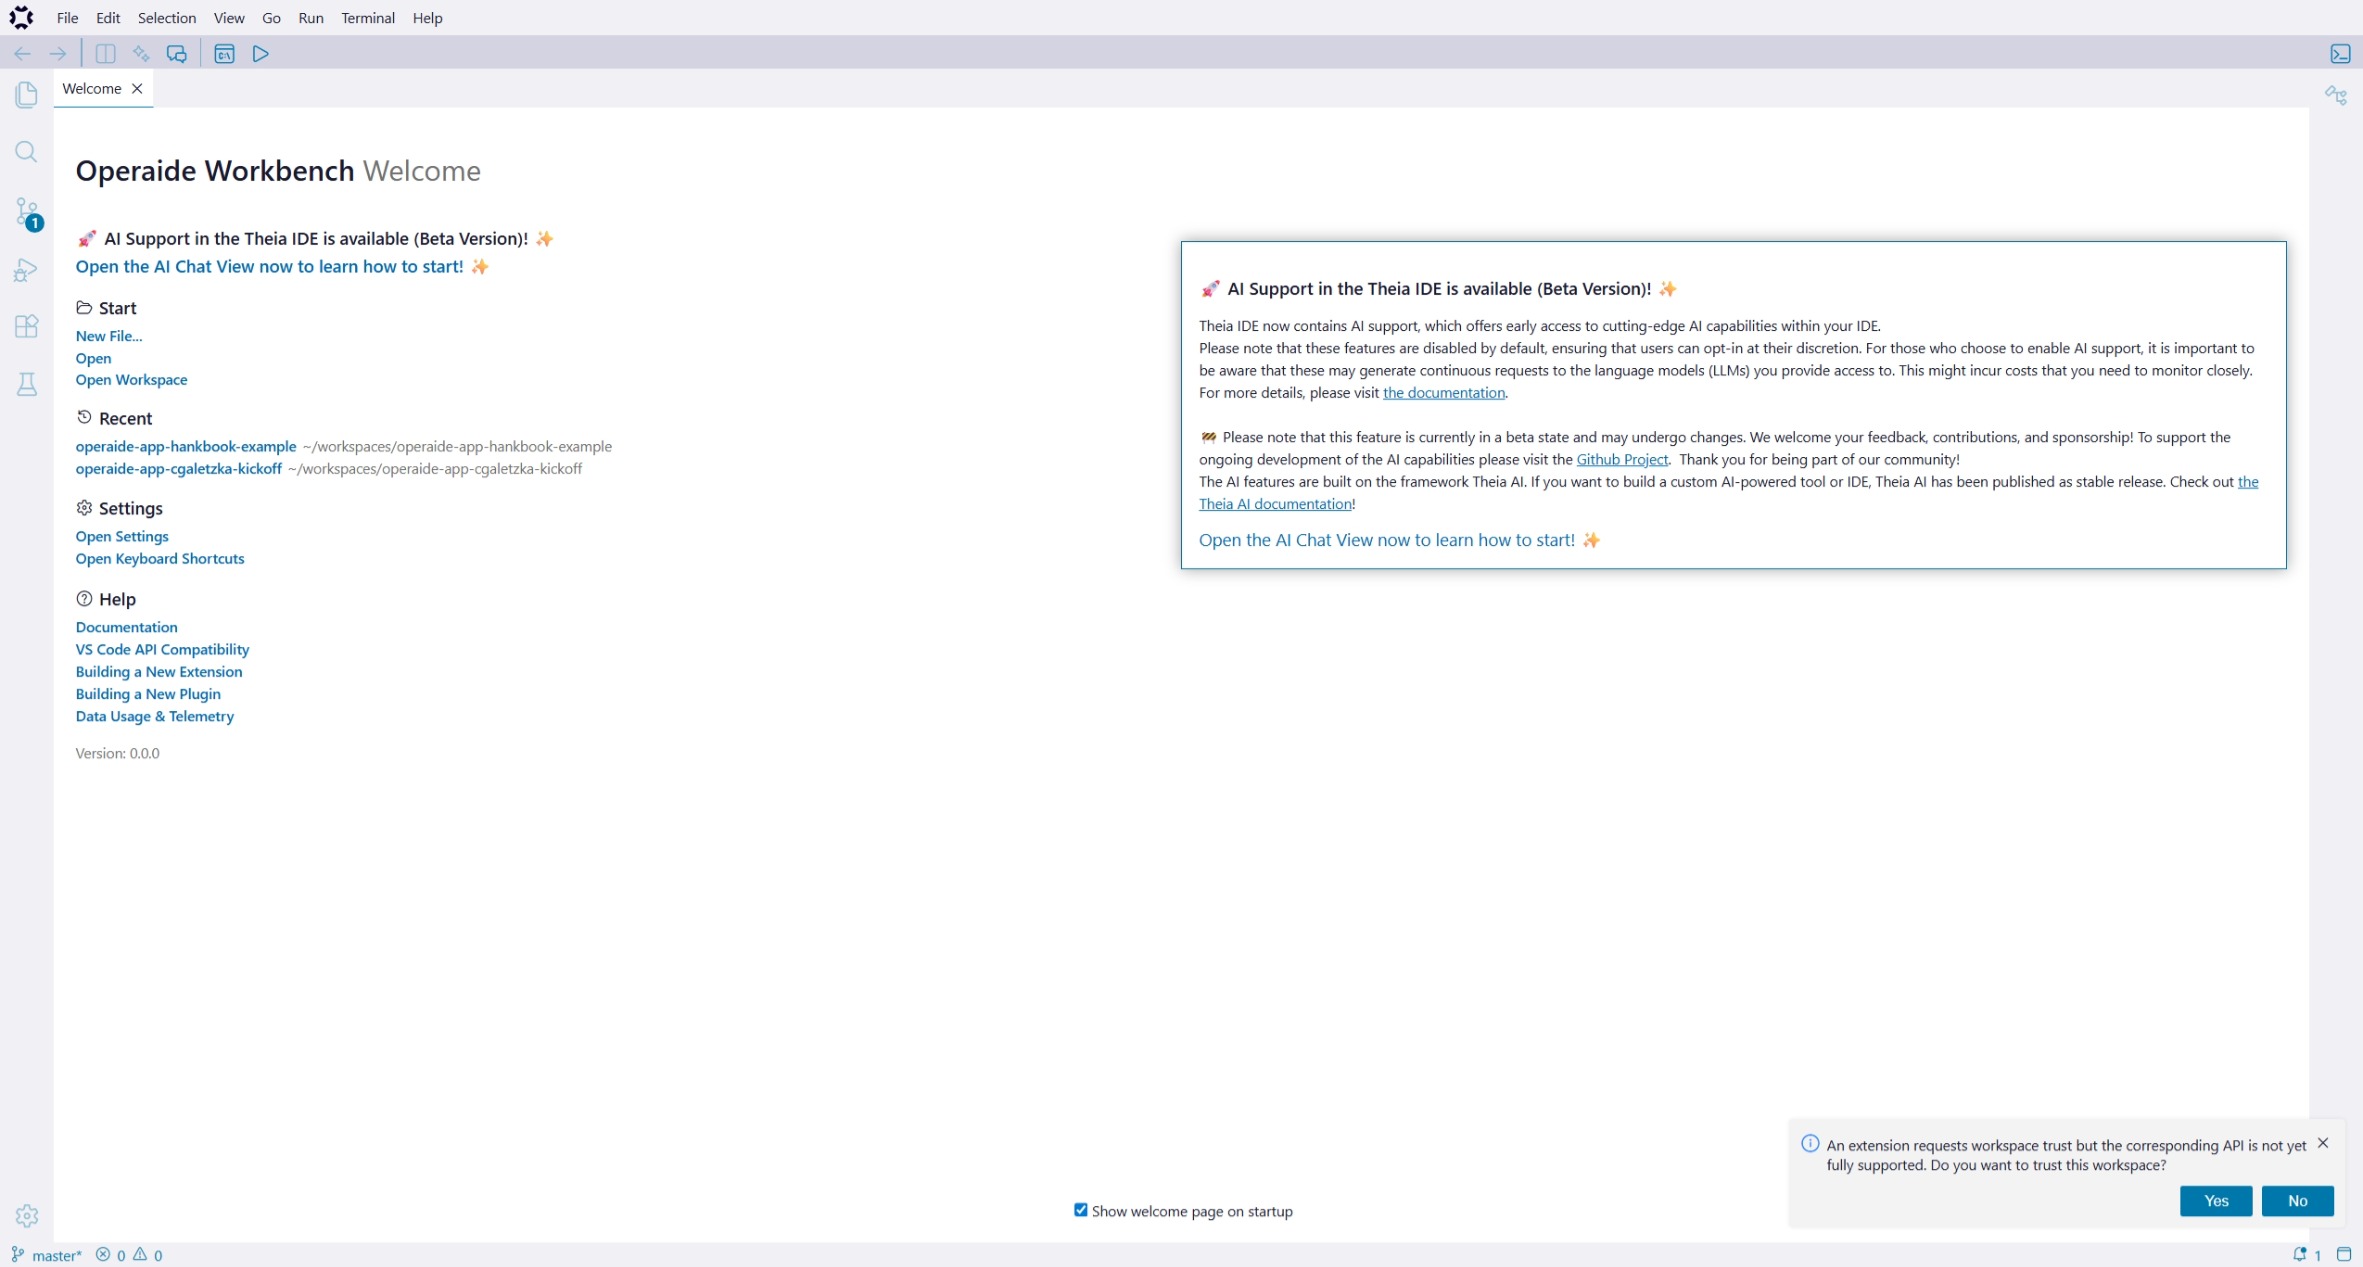
In Studio you can edit your App's source code, configure agents and workflows, deploy directly to the Operaide backend, and test changes in real time. For a deeper look at the Studio interface and workspace management, see Operaide Studio.
Open the Terminal
To begin editing your App, you need to access the integrated terminal:
- Look for the "Toggle Terminal" button in the grey top bar of Operaide Studio
- Click this button to open the terminal panel at the bottom of the screen
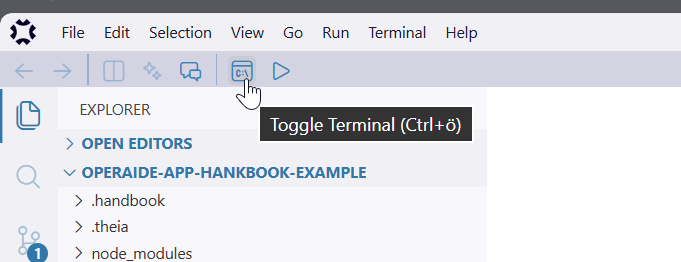
The terminal provides command-line access for editing and managing your App.
Connect Claude Code
With the terminal open, you can now connect Claude Code - an AI-powered coding assistant that helps you modify your App:
- Type
claudein the terminal and press Enter - You may be prompted to log in with your Claude account if this is your first time
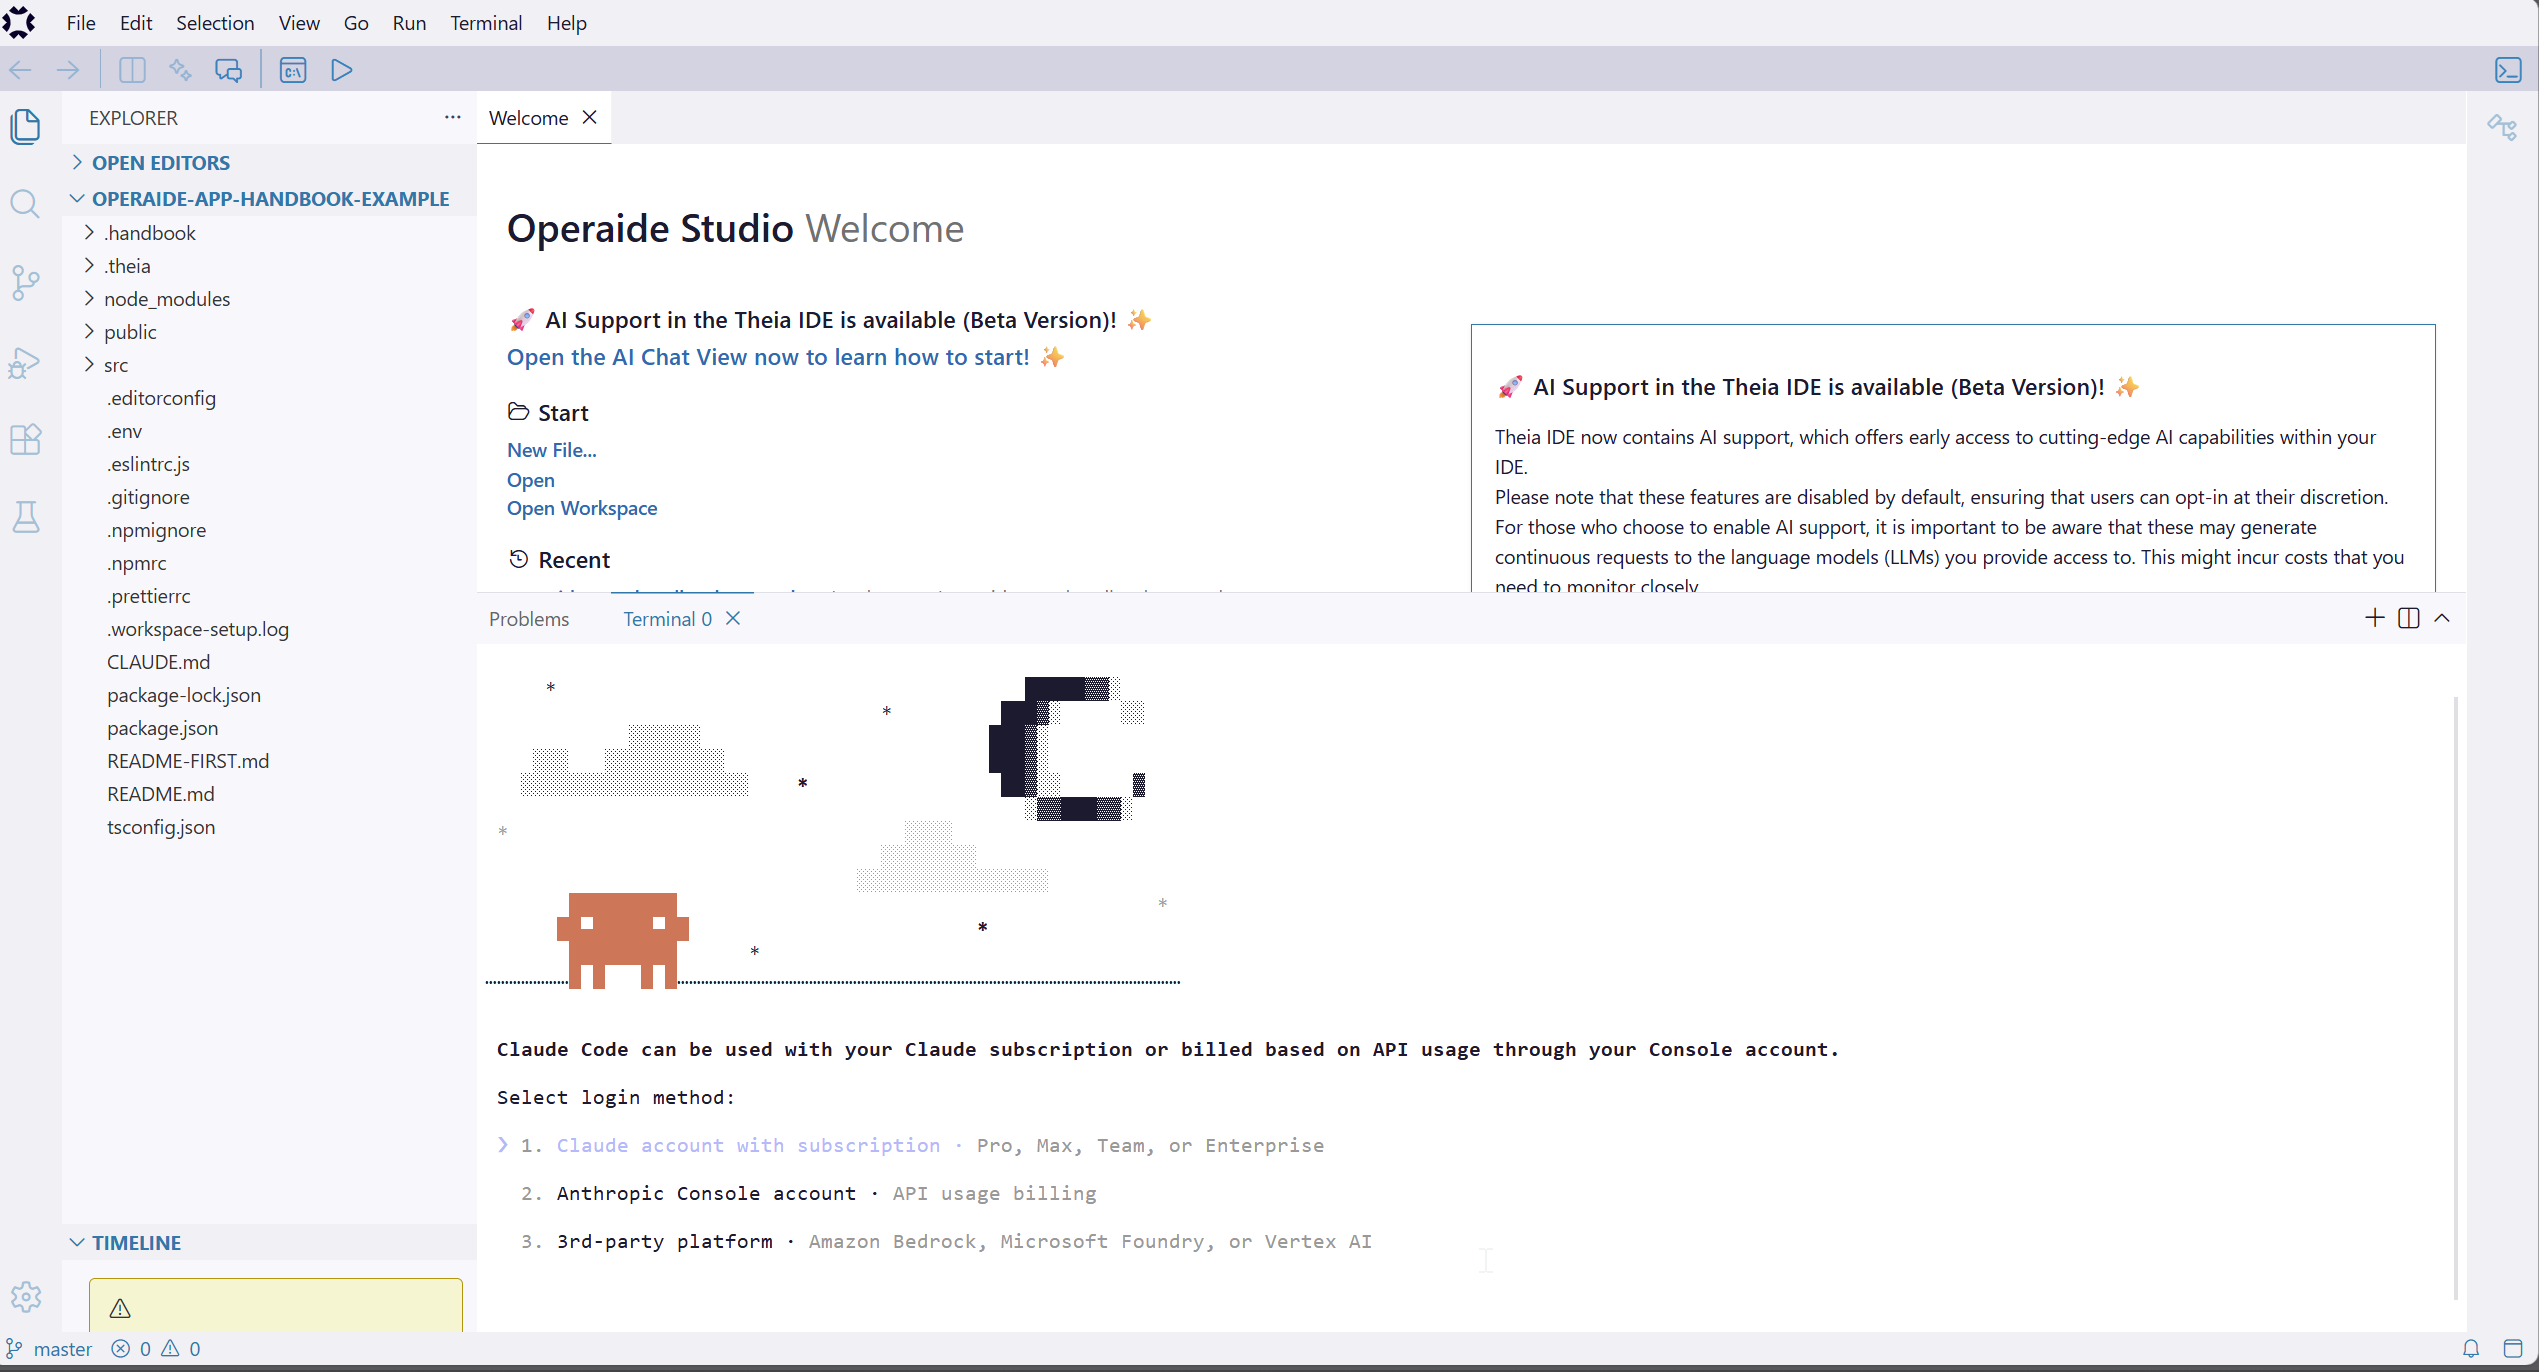
- Follow the authentication prompts to complete the login process
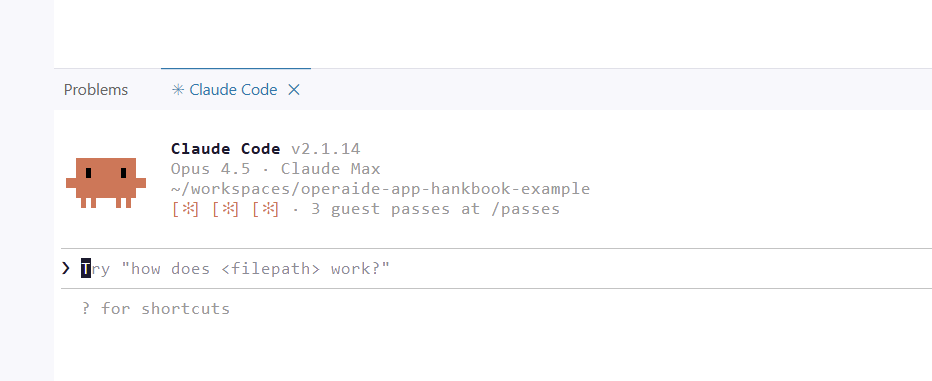
- Once connected, Claude Code is ready to receive your instructions
Edit Your App with AI Assistance
Now you can customize your App by writing natural language prompts in the terminal. Claude Code will understand your instructions and make the appropriate changes to your App configuration.
Example Prompts
- "Add a step to validate email addresses before processing"
- "Modify the chat agent to be more formal in tone"
- "Add error handling for failed API calls"
- "Include a data logging step after each user interaction"
- "Change the response timeout to 30 seconds"
Claude Code will:
- Interpret your request
- Modify the App code and configuration
- Show you the changes being made
- Allow you to review and refine the modifications
You can continue issuing prompts to iteratively refine your App until it meets your requirements.
Install Dependencies
Before deploying, make sure all dependencies are installed by running npm install in the terminal. Depending on your app, you may also need to install additional modules or debug missing dependencies.
Deploy Your App
Once you're satisfied with your App configuration, it's time to deploy it to the Operaide backend:
- Locate the "Run" button in the top bar (identified by a small play icon ▶)
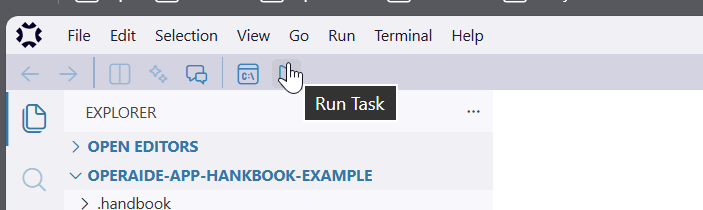
- Click the Run button to open the actions menu
- Choose your deployment option:
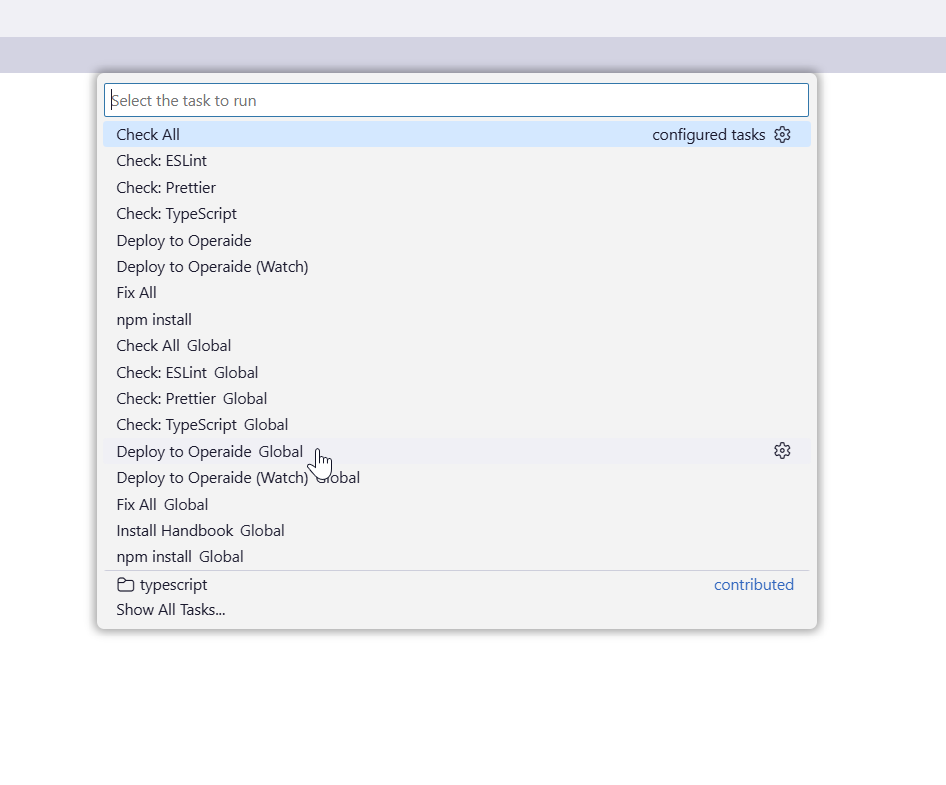
Option A: Deploy to Operaide
- Select this option for a one-time deployment
- Your current App configuration will be deployed to the backend
- Future edits in Studio will not automatically update the deployed instance
- Use this when you want to create a stable release
Option B: Deploy to Operaide (Watch)
- Select this option for continuous deployment
- All changes you make in Studio will automatically update the deployed instance
- Real-time synchronization between your edits and the live App
- Ideal for development and testing phases
- Allows rapid iteration without manual redeployment
Verify Deployment
After deployment completes, your App appears as an App Instance in the left sidebar under App Instances.
- Navigate to App Instances and click on your newly deployed App
- The App Instance detail view opens with three tabs: Overview, Reaktors, and Settings
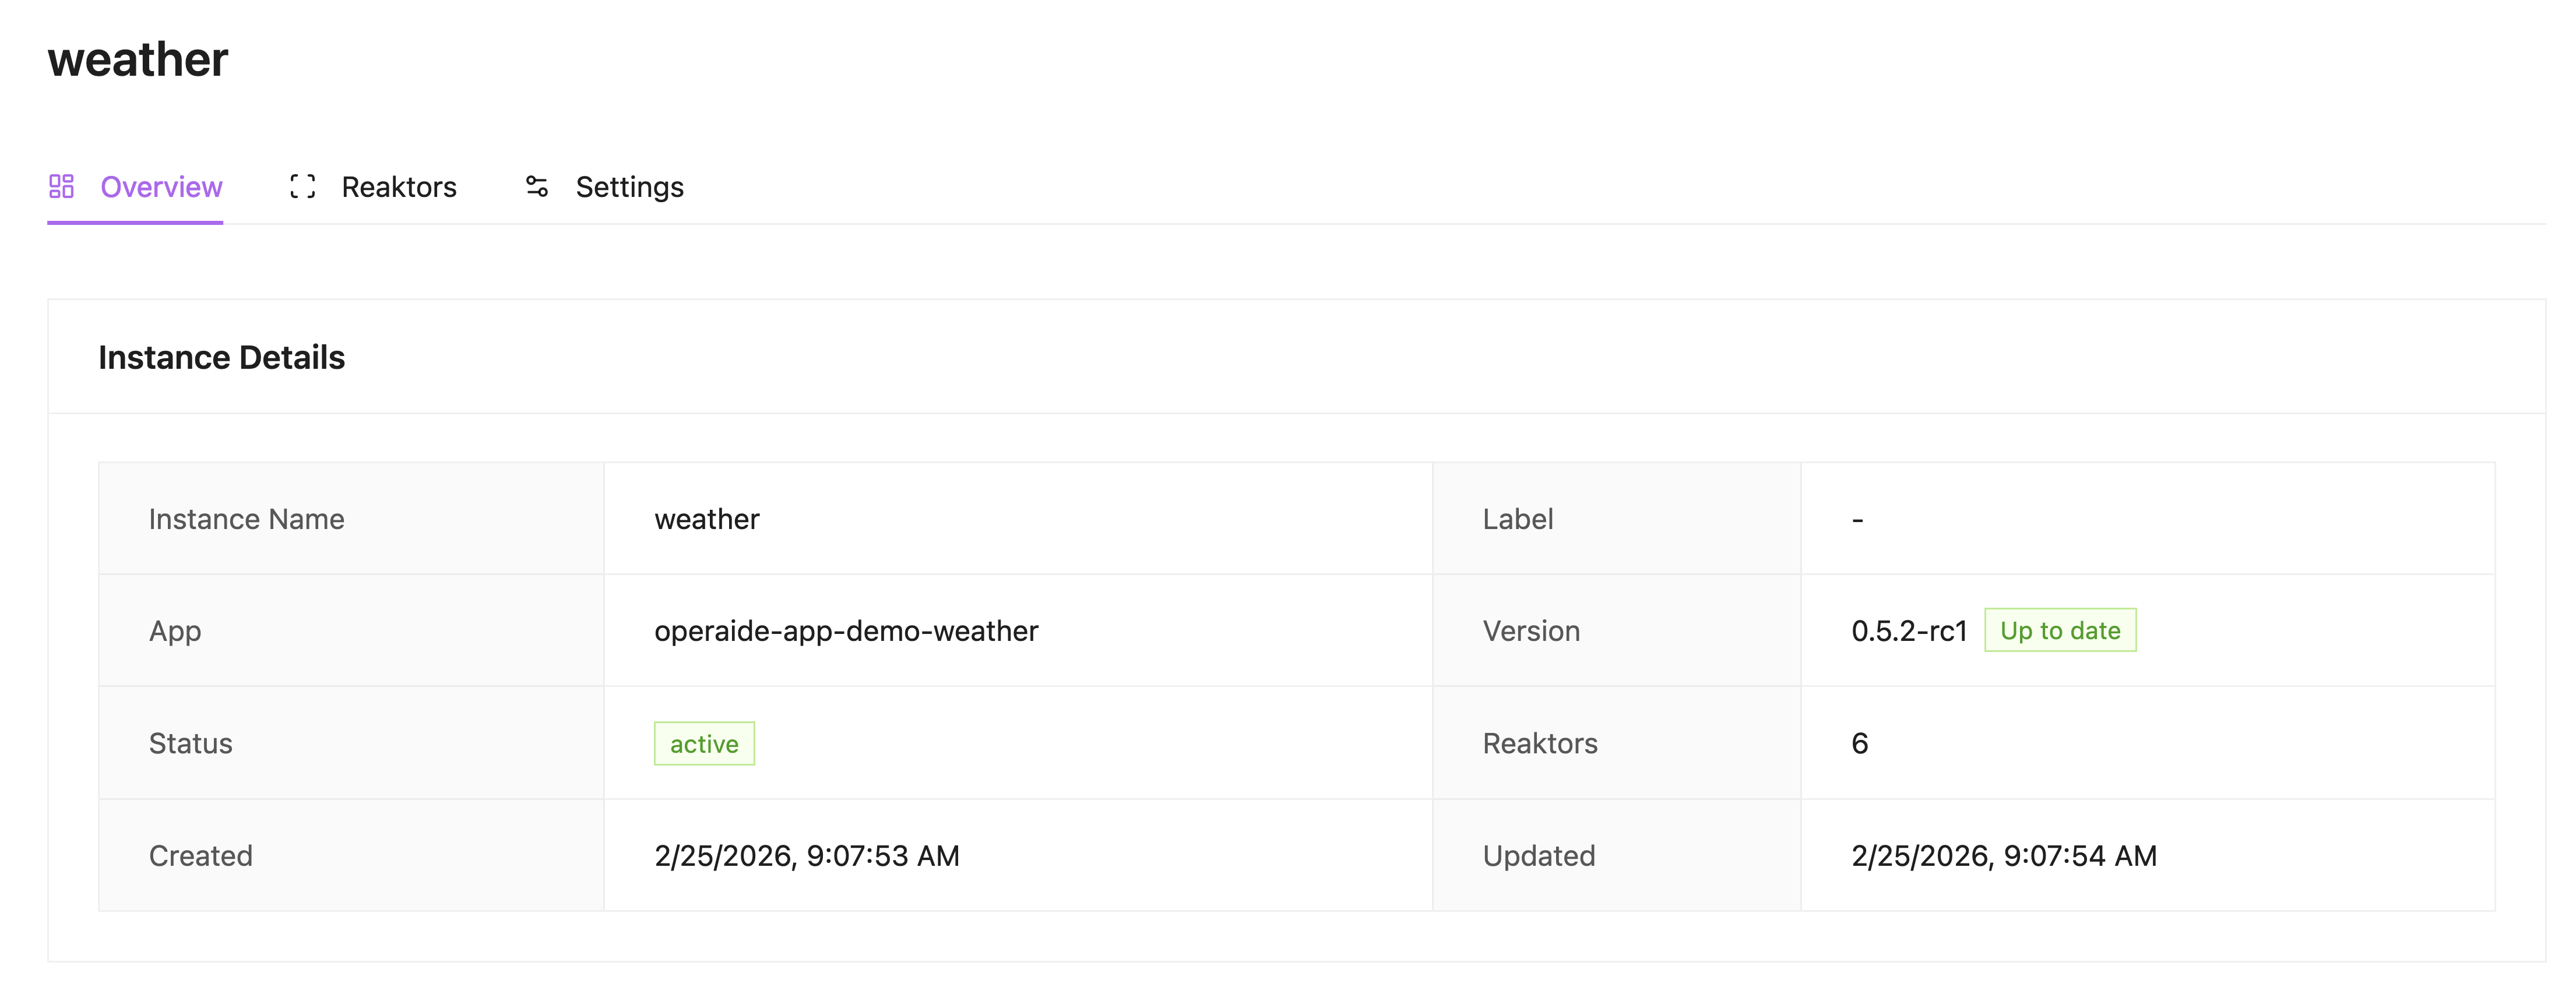
- Click the Reaktors tab to see all Reaktor Deployments belonging to this App
- Each Reaktor listed here is live and ready to handle requests
In the next step, you will open one of these Reaktor Deployments to configure and test your App.
When you deploy from Studio, the platform automatically creates an App Instance for your organization. You do not need to install the App separately — that step is only needed when installing from the App Store for production use.